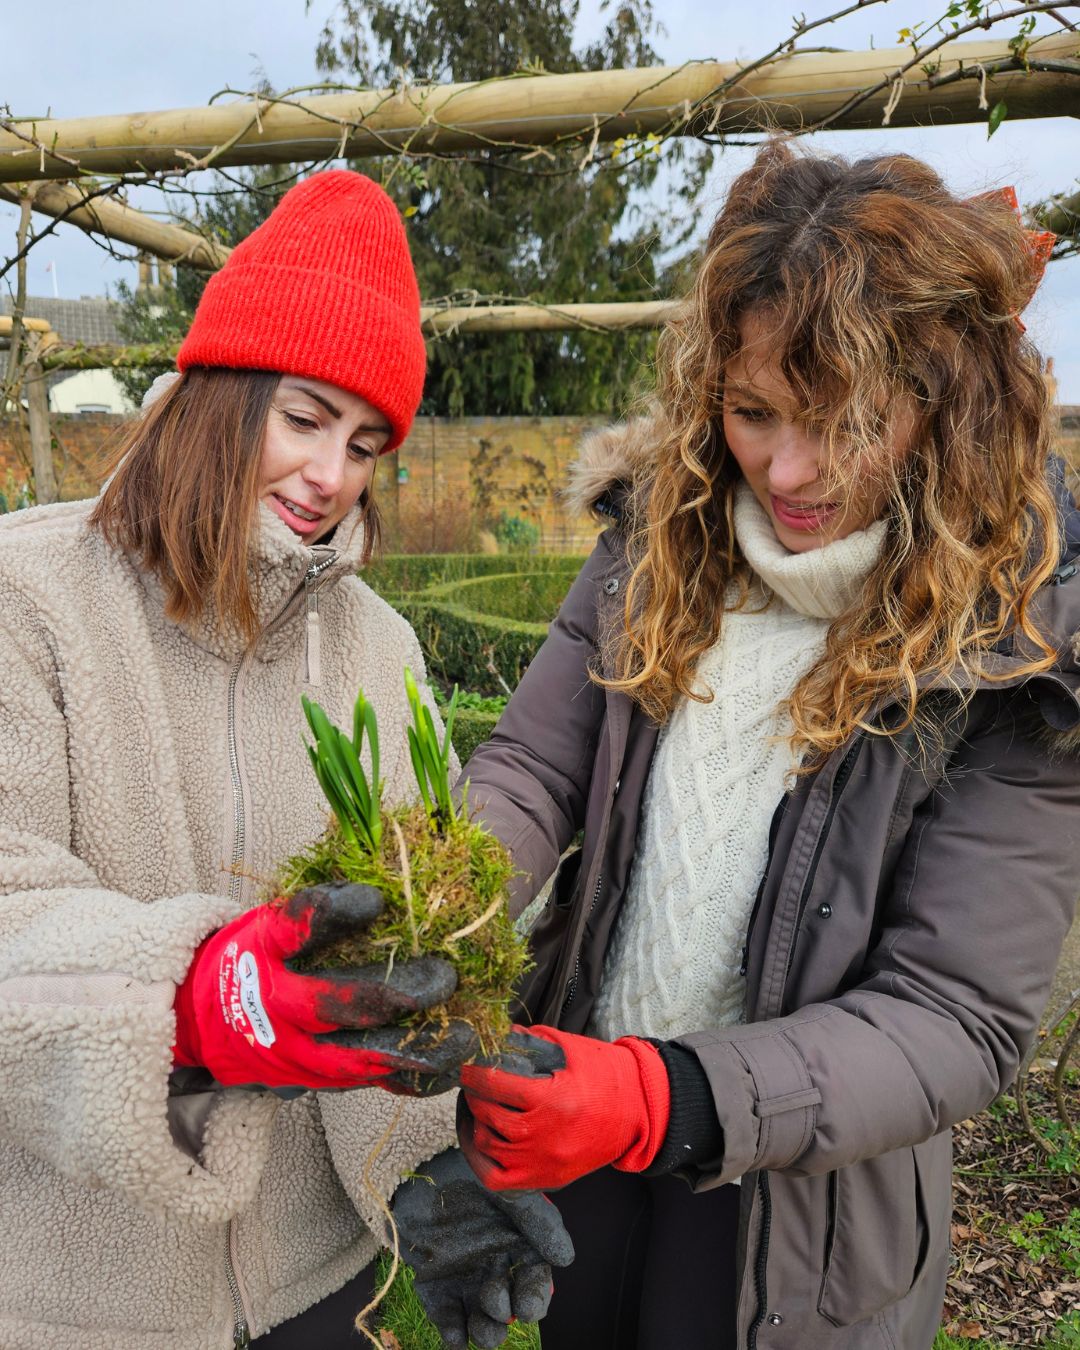
March heralds the start of spring (finally!), so this month, our green lifestyle tips are focussed on the theme of sustainable gardening. For these, we are delighted to partner with Nel and Lauren from Peony & Pose who run workshops combining the art of floristry with the mindfulness of yoga.
Just like us here at 100Green, Nel and Lauren aim to make lifestyle choices that won’t negatively impact the world around us; such as buying locally grown, seasonal flowers and finding ways to repurpose any left-over materials.
However, not all of us are lucky enough to have homes with large gardens, and so some of us will have to get creative with small garden ideas, or even creating the perfect balcony garden.
As such, Nel and Lauren have shared two ideas with us on how to create your own unique, sustainable floral displays - without needing a garden at all!
Read on to find out you can repurpose a bunch of flowers (keep in mind for Mother’s Day this month!), as well as creating a gorgeous hanging kokedama.
Repurposing a Bouquet into a Sustainable DIY Wreath
Fresh bouquets bring joy and beauty, but did you know that an imported bunch of roses could have a carbon footprint of up to 75kg! That's the weight of an average man.
When choosing a bouquet, take a few moments to consider where you buy them from (or ask your florist where they were grown). To buy blooms sustainably, choose locally grown, seasonal flowers and foliage. There are hundreds of British flower farms, so spending some time doing a little research to see if there is one near you is a great way to support local, independent businesses - rather than multi-national chains where the flowers may have travelled hundreds of miles before they get to you.
Flowers from the farm promote a financially and environmentally sustainable local cut flower industry, and provide a handy directory of UK flower farmers for you to browse.
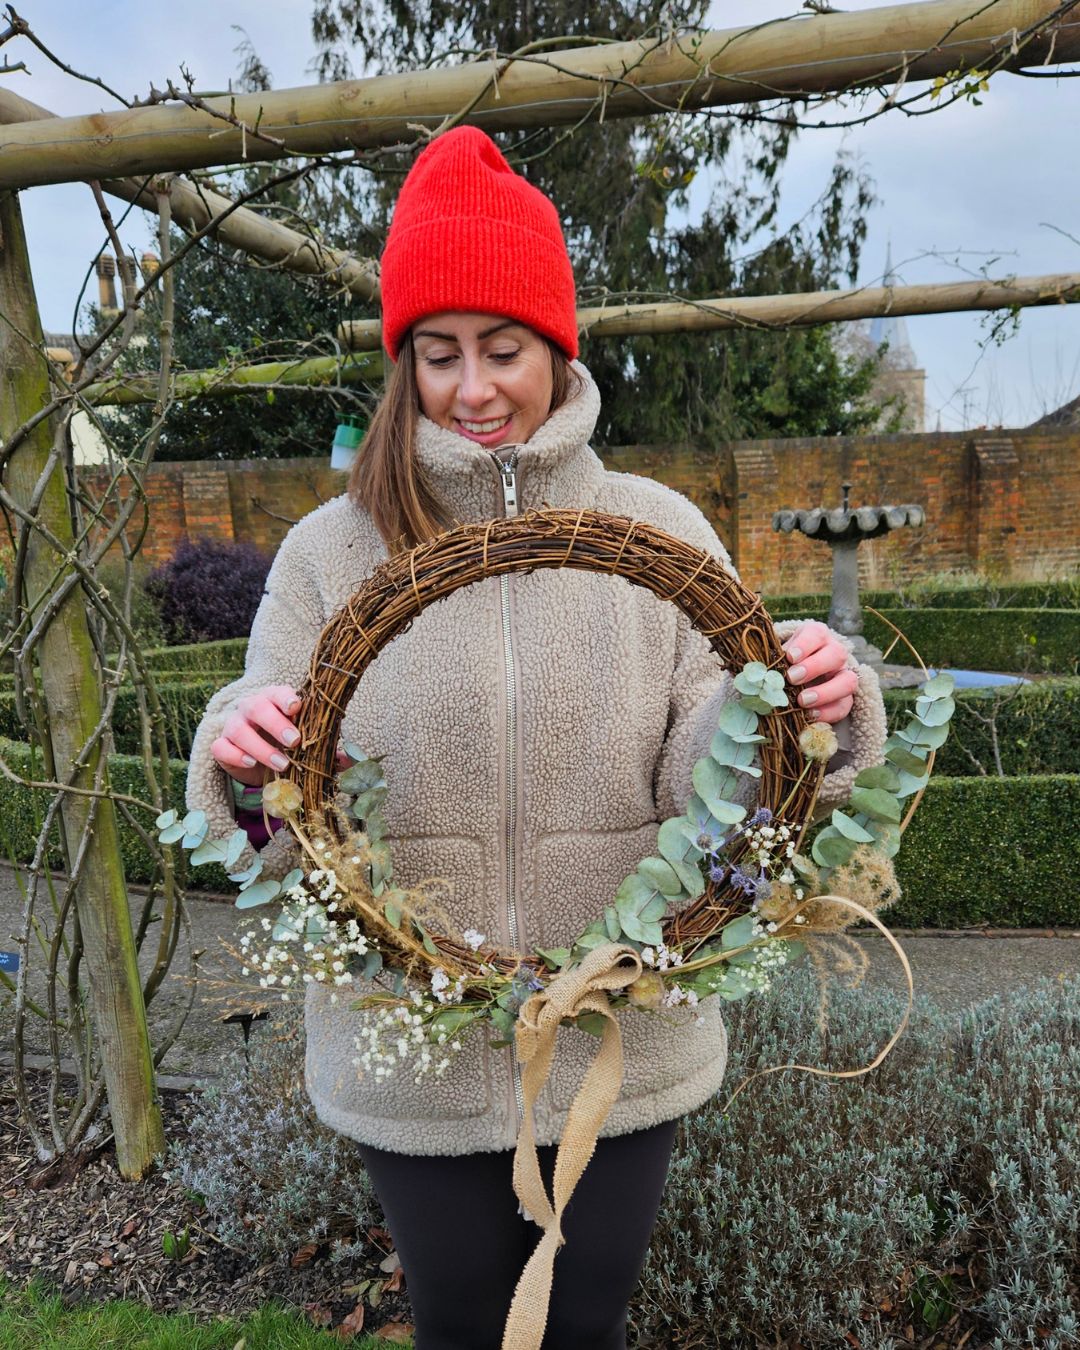
However, no matter where the flowers come from, there's no preventing the fact that the blooms do start to fade. But why toss them away?! Instead, you can repurpose them into a stunning and sustainable wreath.
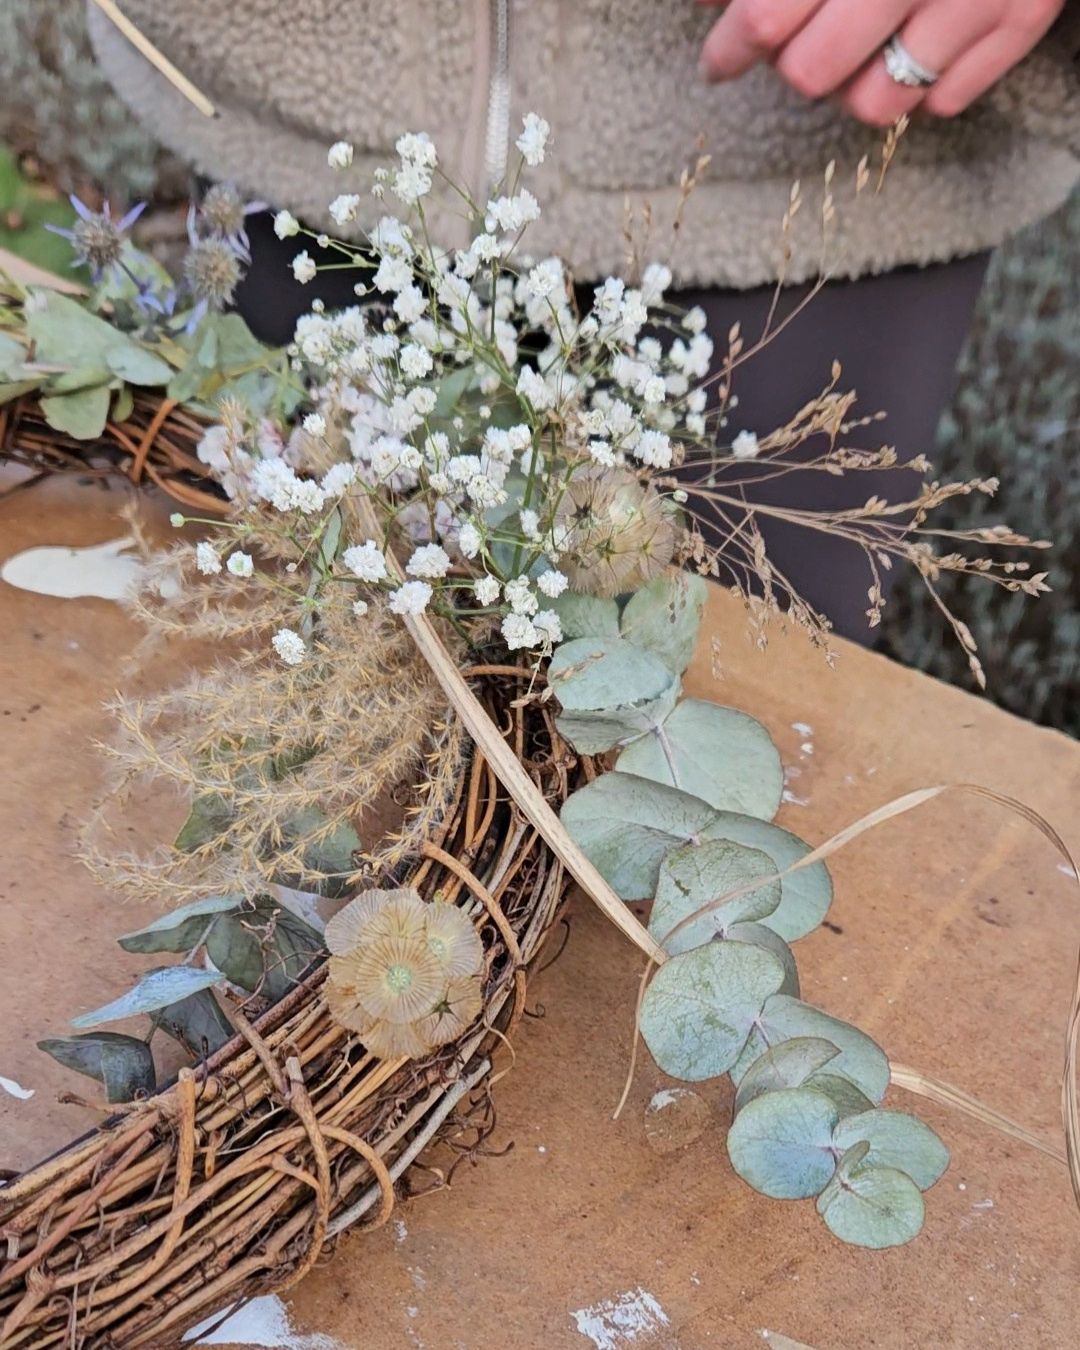
By using a natural willow base and drying elements like eucalyptus and gypsophila (baby’s breath), you can create an eco-friendly decoration that lasts long beyond your bouquet’s original life, and will be the perfect addition to any tiny garden, or even inside your home!
We used foliage and flowers from two different bouquets and added a few stems of dried grass to create our own DIY wreath.
What base do I need for a dried floral wreath?
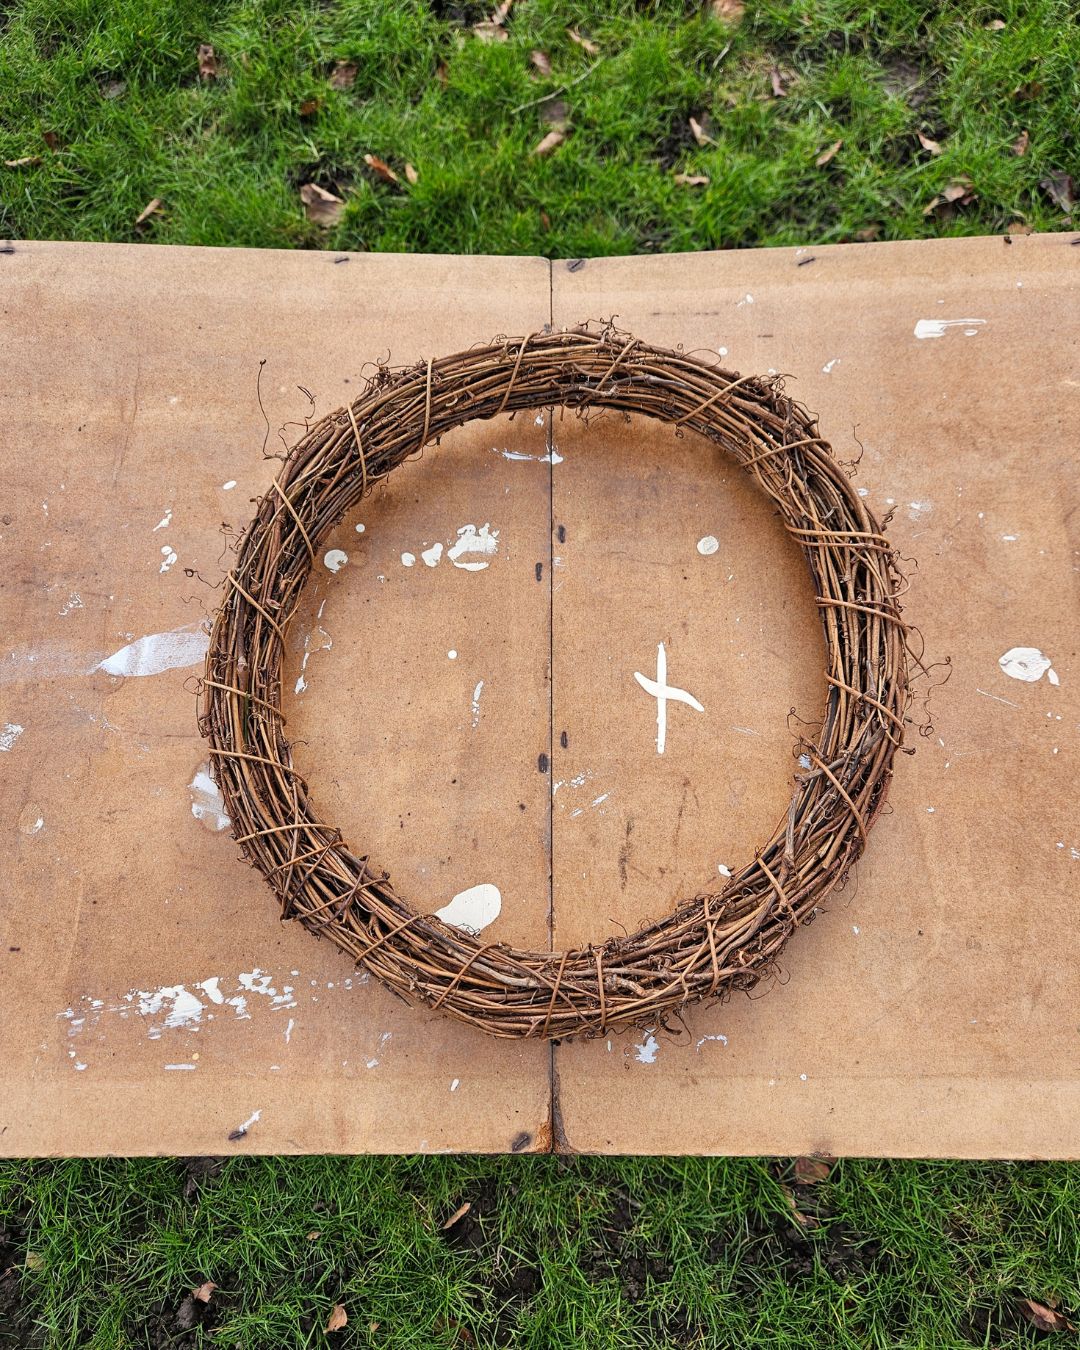
Willow is an excellent choice for a dried floral wreath base because it is:
•
Flexible & Durable – Easy to bend into shape without breaking.
•
Sustainable – A natural material that bio-degrades over time.
•
Versatile – Can be reused or refreshed with new flowers seasonally.
You can purchase pre-made willow wreath bases (if you can, find a local flower farm rather than buying online), or make your own by weaving fresh willow branches into a circular frame and allowing them to dry. If you’re using dried willow, make sure to soak it in water first.
How to choose the best flowers for a dried floral wreath
Not all flowers from your bouquet will dry well, but many do. Here are some of the best ones to save:
Foliage That Dries Beautifully:
•
Eucalyptus – Keeps its scent and colour while adding structure.
• Ruscus – Retains its shape and dries with minimal shrinkage.
• Bunny tails – Add a delicate, textural element.
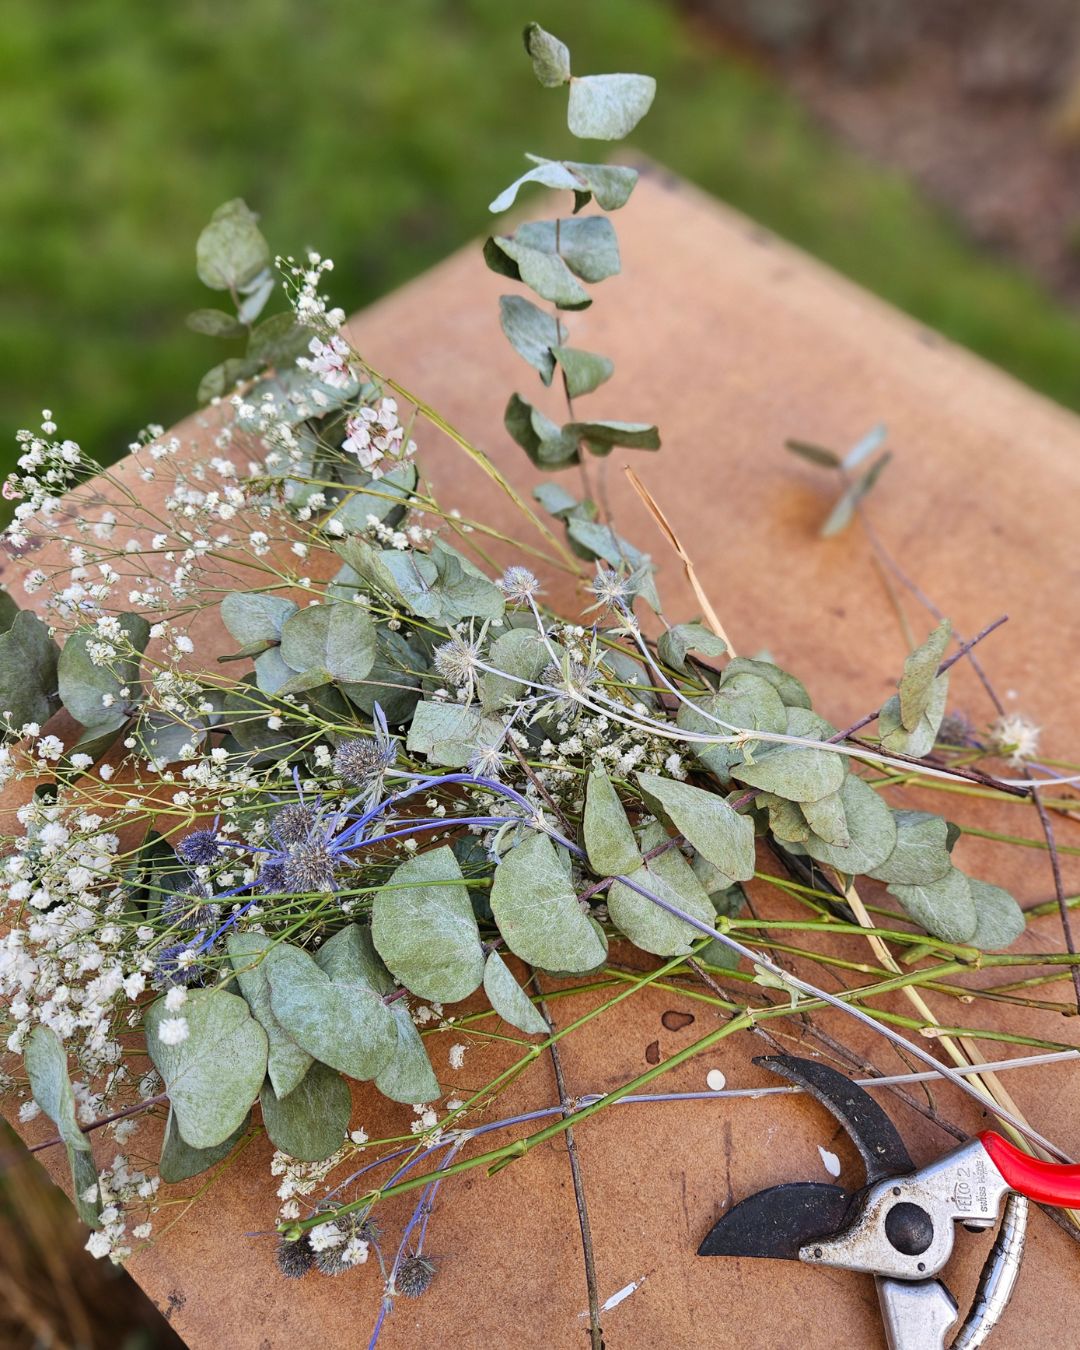
Flowers That Last When Dried:
•
Gypsophila (Baby’s Breath) – Keeps its tiny white blooms and airy appearance.
• Thistles – Keep their colour well and add texture.
• Roses – Dry upside down to preserve their shape.
• Lavender – Adds a calming fragrance to your wreath.
• Strawflowers & Statice – Maintain their colours and structure well.
• Scabiosa Seed Head – A pretty globe shape.
Drying Method:
• Tie flowers and foliage into small bundles.
• Hang them upside down in a cool, dry place, out of direct sunlight with good airflow for about 2-3 weeks.
If you aren’t sure if the flowers and foliage in your bouquet can be dried, just give it a try! Generally, flowers with hollow stems (tulips, daffodils etc) won’t dry well, whereas flowers with more woody stems like roses, hydrangea and thistles, will dry beautifully.
Materials You’ll Need:

• Willow wreath base
• Dried flowers & foliage
• Floral wire or twine
• Scissors & wire cutters
Assembling Your Wreath
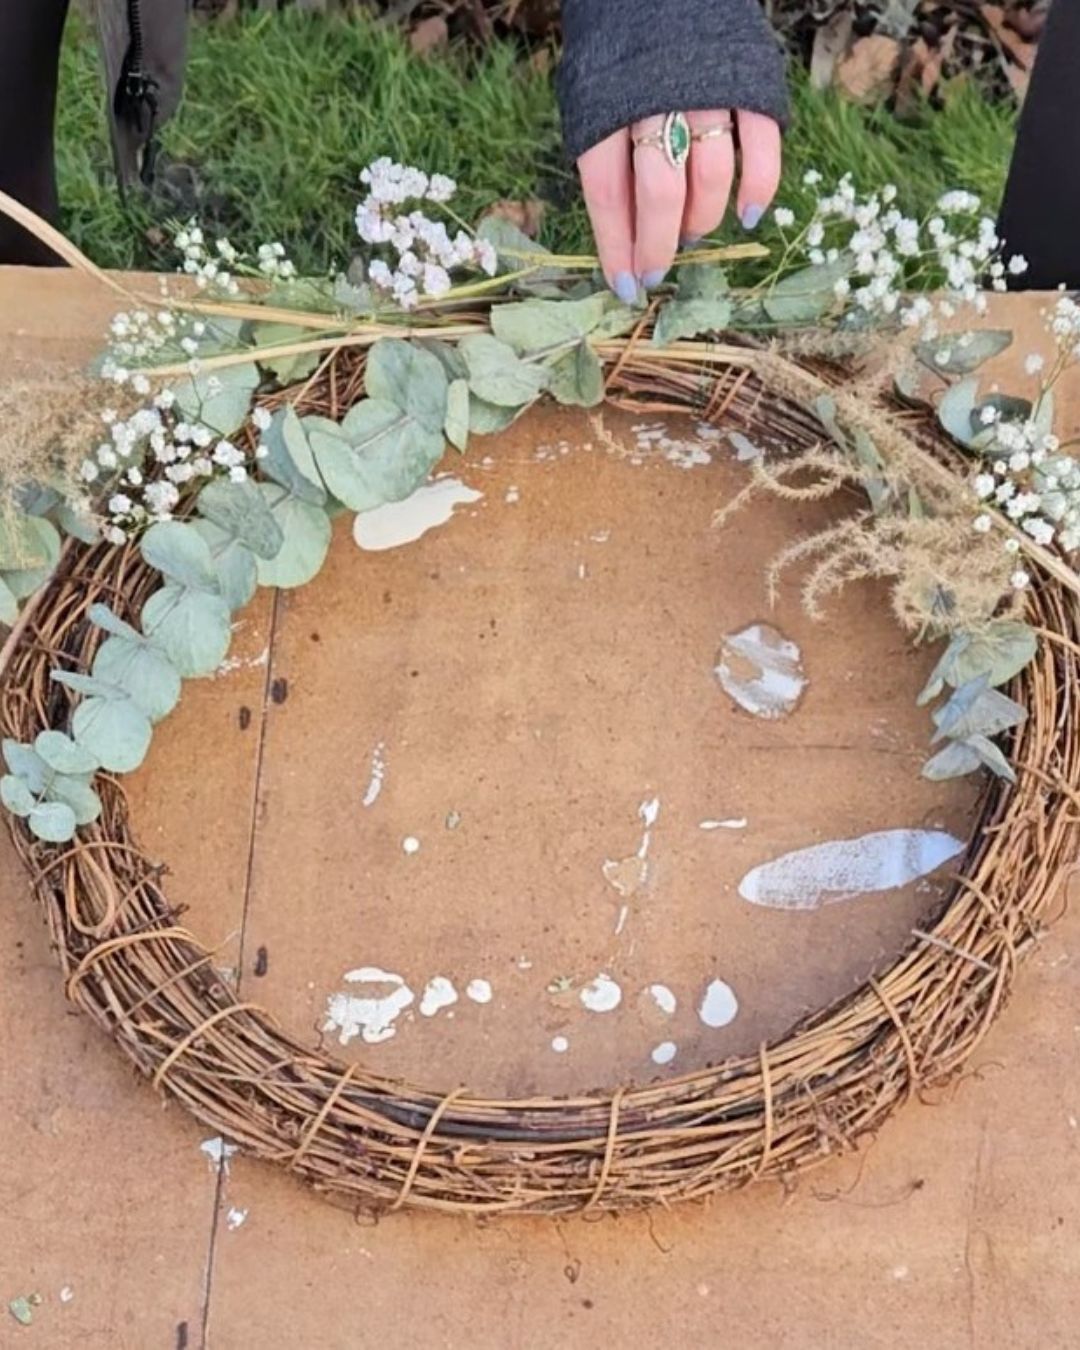
Once your materials are ready, it's time to bring your wreath to life! You may be able to simply weave your stems into the base, but using wire or twine will make it more secure.
We only covered half our wreath, but if you have lots of dried flowers and foliage, you could cover the whole base.
How to make a wreath:
1. Start with Foliage – Attach to the wreath base by weaving or using floral wire. Wrap the stems securely while keeping a natural flow. If you’re covering the whole base, arrange them so they flow in the same, circular direction. If you’re making a half wreath, choose a point to start and have the foliage moving away in opposite directions.
2. Add Larger Flowers – Position larger flowers like roses or hydrangeas in clusters, securing them with wire or twine.
3. Fill in with Smaller Flowers – Tuck in gypsophila and statice to add volume and texture.
4. Layer for Depth – Overlap elements slightly to create a natural, organic shape.
5. Final Touches – Adjust any loose pieces and trim excess stems.
Don’t forget to keep holding your wreath up throughout the process, to check how it’s looking.
Caring for Your Wreath
• Hang Indoors – Try not to hang it in direct sunlight, this will prevent fading.
• Dust Lightly – Use a soft brush or hairdryer on low.
• Refresh Seasonally
By repurposing a bouquet into a wreath, you not only extend the life of beautiful blooms but also create a meaningful and sustainable decoration for your home. With a little creativity and care, your wreath can be a year-round reminder of nature’s beauty!
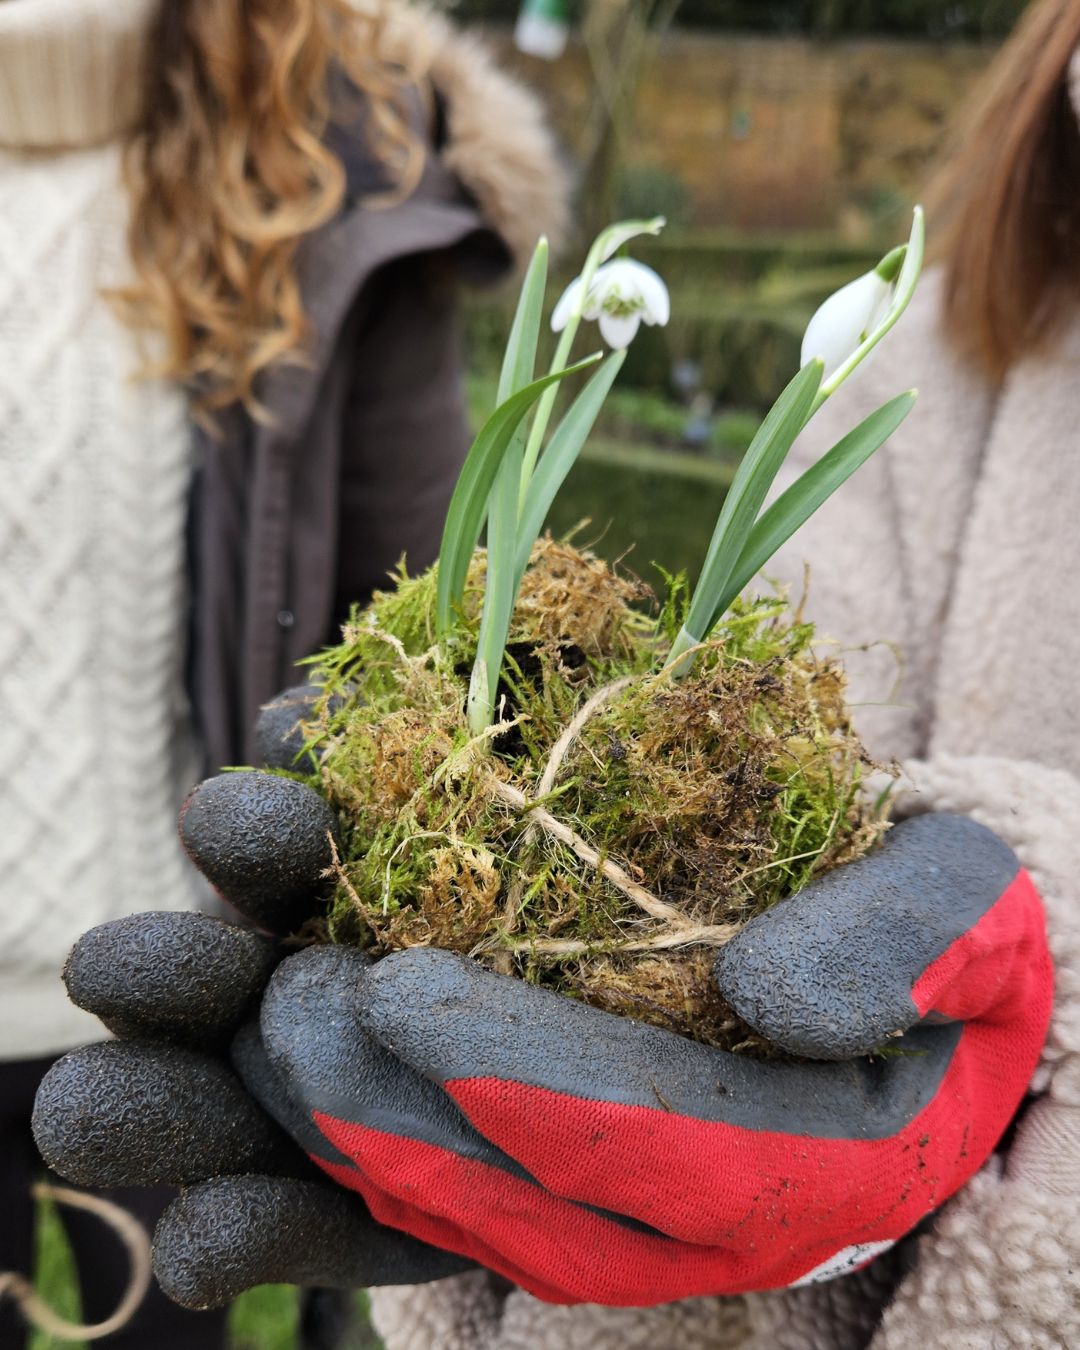
How to Make a Kokedama (or hanging flowers) with Spring Bulbs
Kokedama, a Japanese art form meaning "moss ball," is a beautiful and eco-friendly way to display plants. Making a sustainable kokedama with seasonal flowers and bulbs is a fantastic way to celebrate the season while reducing waste, and works just as well as hanging basket flowers. Your kokedama can be hung indoors or outdoors or be given as a thoughtful homemade gift.

Materials You'll Need:
• Spring bulbs (small bulbs work best: mini-daffodils, crocuses, or snowdrops are the perfect seasonal flowers in spring season)

• Soil mix (either equal parts peat-free compost and bonsai soil, or 70% peat-free indoor potting soil and 30% garden soil)
• Sustainable sheet moss or forage your own sphagnum moss
• Natural twine (hemp, jute, or cotton)
• Bowl of water
• Scissors
If you can, buy spring bulbs that come in a compostable pot. If you can only get them in a plastic pot – don’t forget to save them to reuse for future gardening projects!
How to make a Kokedama:
1. Prepare the Soil Mix - Combine your soils in a large bowl. Add water gradually until the mixture holds its shape when squeezed. This ensures the kokedama retains moisture without becoming too heavy.
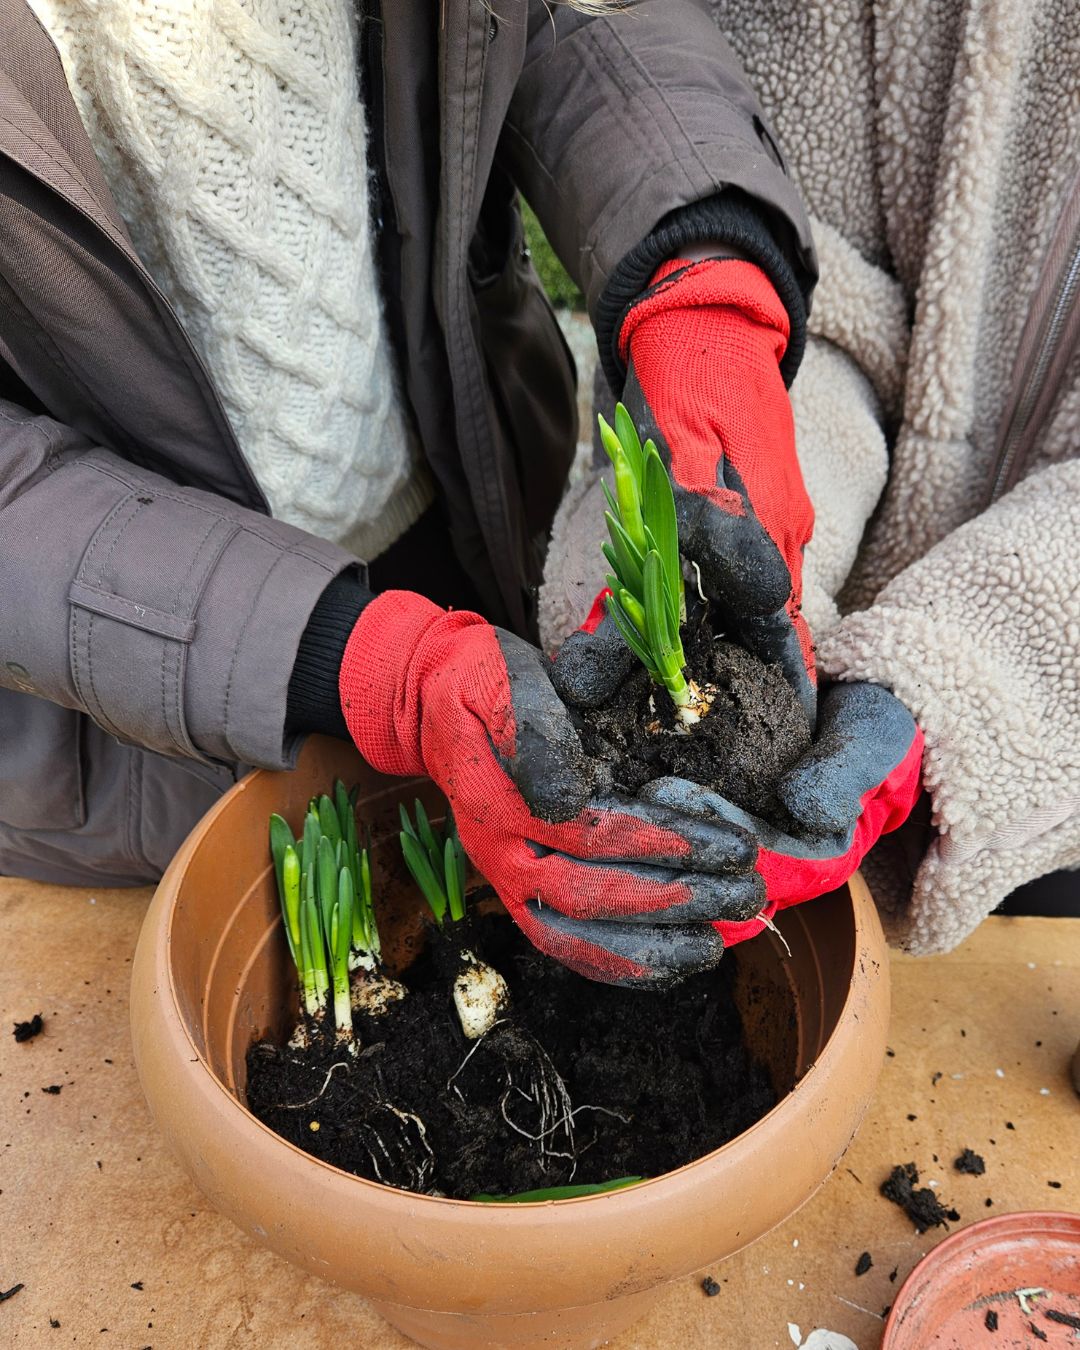
2. Wrap the Bulb - Gently remove excess soil from the spring bulb’s roots, keeping them intact. Form a ball of your soil mix around the roots, pressing gently to mold it into a firm sphere.
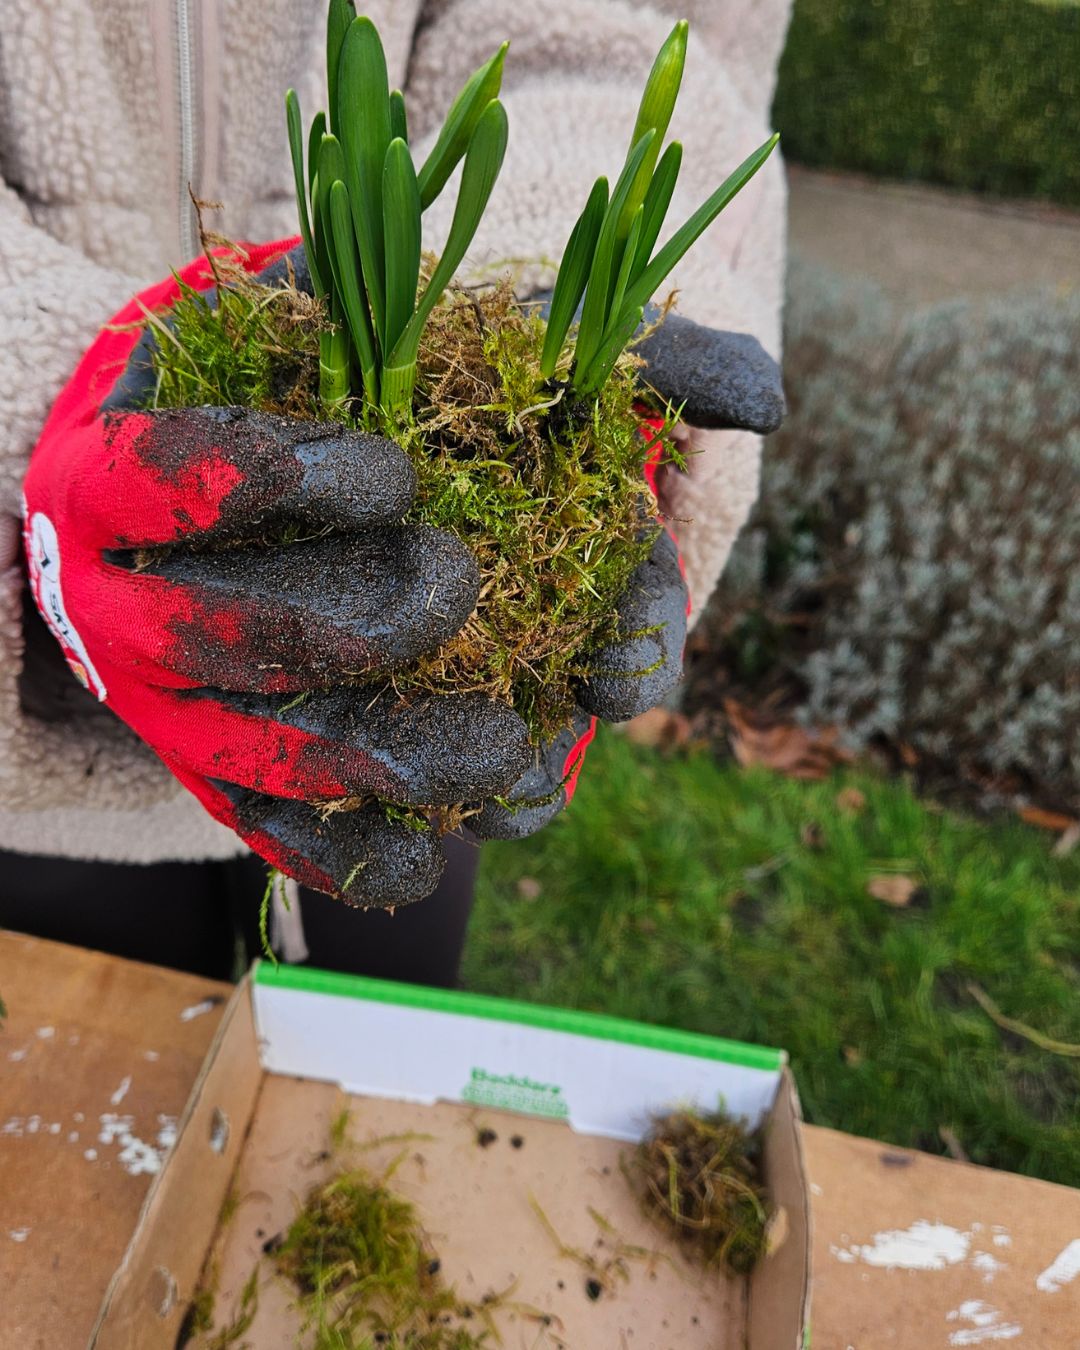
3. Cover with Moss - Wrap the soil ball with moss. This helps retain moisture and gives the kokedama its signature green look.
4. Secure with Natural Twine - Use twine to wrap around the moss-covered ball, crisscrossing in different directions to hold everything together. Tie it off securely, ensuring the ball remains firm but allows for root expansion. This step is easier with two sets of hands!
5. Water and Hang or Display - Dip the kokedama in water for a few minutes, then let excess water drain. Place it on a dish or hang it in a bright, indirect light area.
Caring for Your Kokedama
Watering: Submerge the ball in water when it feels dry—typically once a week in spring.

Misting: Use a spray bottle filled with water to mist the moss every 3-5 days.
Light: Spring bulbs thrive in bright, indirect light. Some, like snowdrops, prefer partial shade.
After Blooming: Once flowers fade, plant the bulbs in the garden for future growth. The moss and twine will naturally decompose.
Creating a kokedama with spring bulbs is a rewarding, eco-friendly gardening project that is ideal for any small garden. Whether displayed on a windowsill or hung in a sunny corner, your kokedama will be a stunning, sustainable centrepiece.
We’d love to see your creations – follow and tag us on Instagram @peonyandpose
For other sustainable tips around the home, you can check out these 100Green blogs:
• Energy saving tips for our washing machines
• Simple swaps to lead a more sustainable lifestyle
• How to grow a sustainable garden